Posts

Sacrificed Carrots - 2012

Image
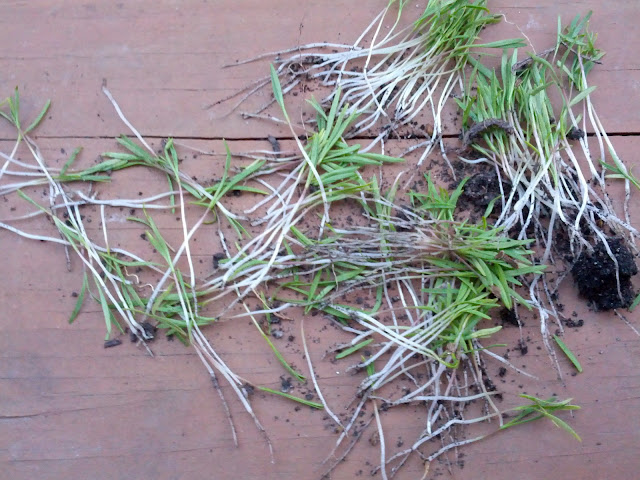
I had to yank these guys out to make room for the rest of the carrots to grow.  Thinning seedlings is important to making what you plant thrive, but I never do it enough.  The seeds for these things are way way way small, so I never do a good enough job planting them in a thin, even line.  I always plant too many seeds, but one year I'll learn to have a light touch with the seed packet.

First Corn Stalk Seedling - 2012

Image
These stalklings (is that what you'd call them?!?) popped up yesterday and is growing strong.  Last year, we had mice devour my sweet corn, so this year I'll have to come up with something to prevent that from happening again.  From what I remember, the stalks grow fast, but the ears develop a lot slower.  I'll be keeping a strong eye on them this year.

First Touchon Carrot Seedlings - 2012

Image
Just about a week after I put them in the ground, I spotted the first little seedling popping up through the soil this morning. These are a heirloom variety called a Touchon that is known to grow straight and strong.  I think I'm going to have thin these out a bit but I'm hoping that in 65 days we'll have a bunch of carrots to chow down on.

Vegetable Garden Planted - 2012

Image
This weekend, I was able to find time to clean up the raised beds and plant everything.  We have eight tomato varieties going this year along with a few other vegetables including peppers, squash, corn, potatoes, and even a few garlic cloves.

Wrigley Field Visit - 2012

Image
Had a wonderful night watching the Good Guys beat up on the Cubs last night.  All things considered (NATO, etc) we got to the game relatively easy and had great seats!  Thanks Dennis and Angela!

Tomato Plants Purchased

Image
Between Menards and Home Depot, we finally were able to buy our vegetables (along with a couple of ferns and a grafted daisy tree!) today.

DIY Water Rocket + Launch Pad

Image
Here's the final version of the DIY Rocket Launch Pad that I made for my nephew yesterday .  The pad is made from a 1X8 with the bottom and back cut into 7.5" squares.  The front lip is 7.5" X 2" tall.  The sides are 7" tall and fill in the gaps between front and back.  I used decking screws because this thing involves water and pre-drilled the holes to avoid splitting. From there, I painted it white then painted on an orange and blue rocket, added the VASA '12 logo (a space organization named after my nephew, of course!) and even a motto on the back.    I wrapped it up in the typical wrapping paper:  the days newsprint. Also included in the Rocket package was this custom modified bike pump needle.  All you need to do is grab your needle, lay it next to a cork and then chop it down so the air holes just poke through. Here's the launch vehicle.  I used a Diet Orange Crush bottle.  But any 2 litre bottle will work fine. Just fill it up 1/3 of