Burning Leaf Litter In-Place - March 2026

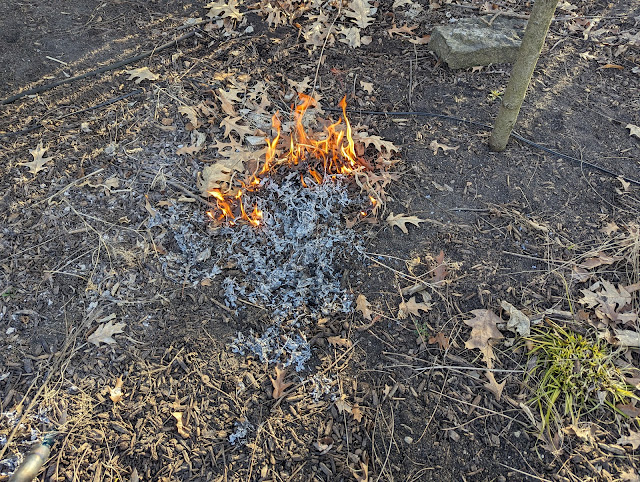
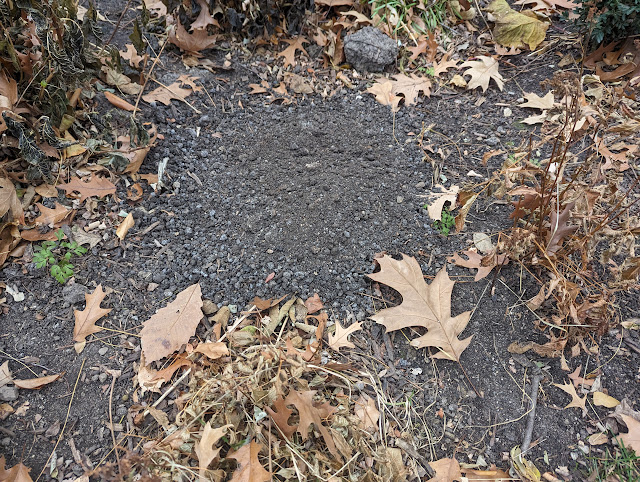
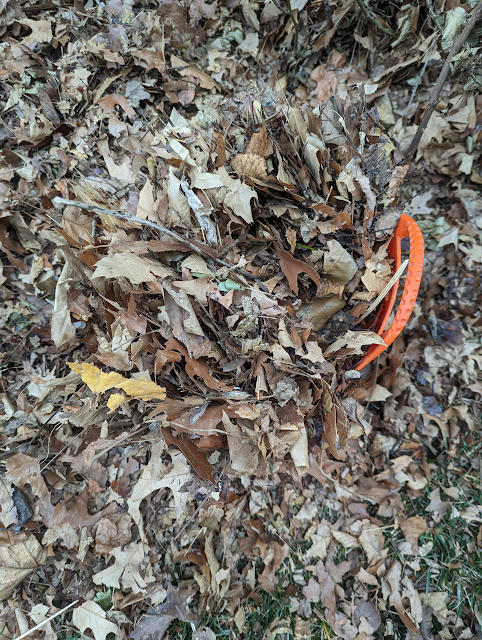
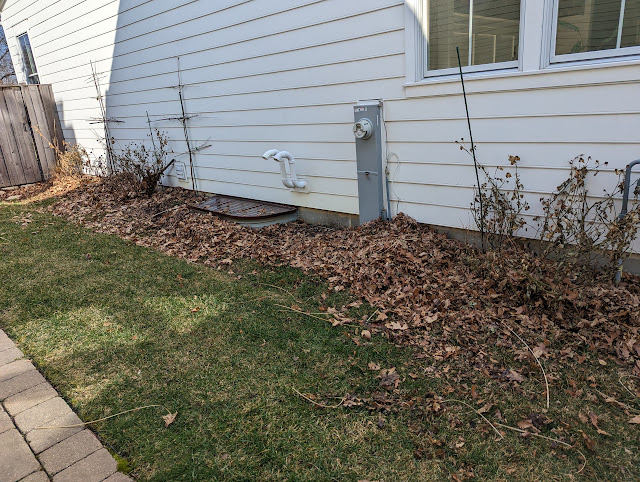
Part of my DIY Spring clean-up is doing some small, controlled burns in place with the left-behind leaf litter in the beds. I rake up some small piles that have defined edges (so the burn can't run everywhere) and use my little weed-burning torch to set the piles on fire. They burn up the leaves, leave behind some ash and eventually exhaust themselves when they run out of material. Here's one of the small piles I am burning under the Hornbeam trees in back: