More Pizza Oven Landscape Timbers And Excavation - March 2025

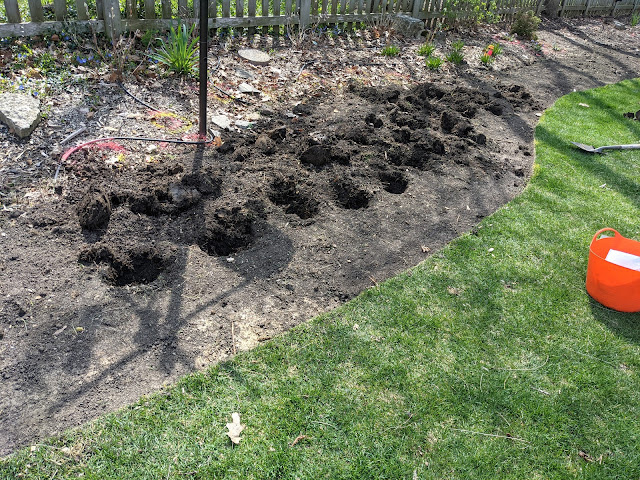
Progress on the pizza oven MVP continues. At least in terms of the hard surface part of the project. Back ten days ago, I showed the first timber (6x6x8 treated ground-contact) being placed on site and talked about how much more excavation was required. A few days ago, I posted a photo showing the three other timbers that I brought home from the lumber store that were ready to get placed for dry-fitting . Now that I have the first four timbers on-site, I can start to see how much more excavation is required. With the wall being about ten-inches-tall, that means that I would like to have about ten-inches of gravel behind the wall. Thus, excavation is for the space required for the timbers to be square plus ten-inches in each direction. Below is a look at the current state of the area: All four timbers are on-site and I've been pulling away at the earth that needs to be retained: My plan is to use a flat shovel to create a clean edge in the...