Posts

Showing posts with the label erosion

River Rock To Control Downspout Surface Drain Erosion - April 2024

Image
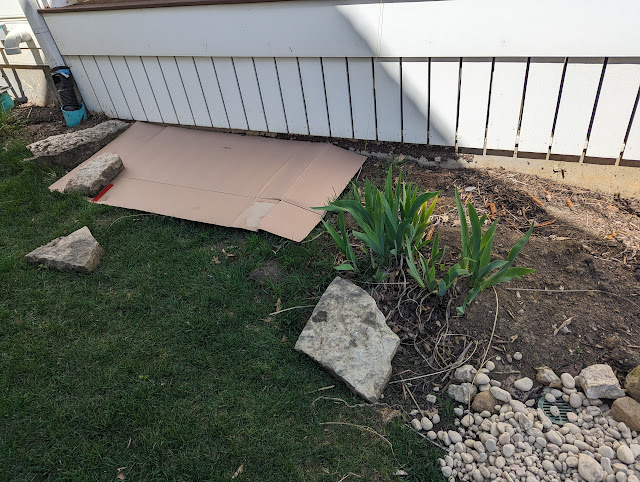
Yesterday, I posted some photos showing how I used the "Lasagna Method" to smother some grass with cardboard and top-it with mulch to improve a foundation-adjacent garden bed on the side of our house.  The goal was to raise up the soil level, smother out grass and improve the area looks-wise.   But, that wasn't the only recent improvement that I completed over on that side of the house.  While I was using gravel and river rock to level-out the pizza oven site, I decided to take a couple of bags of the River Rock to put to work by the downspout surface drain outlet.   I've been wrasslin' with surface water on this side of my house for years - here's a post from 2020 where I talk about 'floating mulch' due to the downspout release .  Over the years, I've seen the area erode and this Spring, I've attempted to address it in a few ways.  First, by hauling over some of the excavated material from the pizza oven project to 'fill in' some low

Smothering Grass With Cardboard To Rebuild Foundation Bed - April 2024

Image
Last Fall, when I was digging up/out the (extended) IB2DWs bed for the small conifer garden along the property line, I turned to a mix of grass-removal techniques.  The whole area was turf, so I did three things:  Dug it out, smothered it/covered it up and flipped it over (and smothered it).   For the material that I excavated, I brought most of it over to the southside of the house and used it to fill in the little gully/swale on the side of the house.  And, I tucked in a bunch of it (flipped over) along the side of the porch where I'd seen some erosion over the years.  On this side of the house, we have just ONE downspout that handles a big portion of the roof and when it gets clogged up, that gutter 'tops'.  That's one source of the erosion.  The other is the downspout outlet.  Whatever *does* get down the downspout, comes out one of those surface drains.    That 'flipped' turf was a way to raise the ground-level here.  And, like a bunch of the areas that I w

Totem Pole Switch Grass - Front Bed - Spring 2021

Image
I first spotted something called a Totem Pole grass at Hinsdale Nursery earlier this year.  It was billed as a grass that can get to six feet tall.  I was intrigued.  So, when I saw this Prairie Winds Totem Pole Switch Grass at the Morton Arboretum Spring sale, I knew I had to buy one.  (I know, I know...I shouldn't ever buy ONE of anything.  But, I broke *that* rule for this grass due to the size and sun requirement. ) In the photo below, you can see this grass in the nursery container in a spot in the bed kind of tucked behind the tulips and the Norway Maple tree and kind of straight out from the corner of our screened porch.   Here, below, is the front/back of the tag: The back of the tag reads: A sturdy, durable ornamental grass that withstands adverse weather conditions.  Grey-green leaves form a strictly upright column of steel blue foliage.  Golden seed heads in fall.   And...note the 72" height listed at the top of the back of the tag. Walter's Garden has a listin

Floating Mulch Flagstone Retaining Ledge Installation

Image
A couple of days ago, I posted a photo of some of our orange tulips blooming in the front yard and mentioned that in that photo there was a detail of a small (potentially partial) project that I had knocked off my list.  In the photo at the top you can see that project: a little buried flagstone retaining 'ledge'.   In mid-April, I posted about my 'floating mulch' problem in this area due to the grade (it is on a slope) and water run-off (some gutter downspouts come out in this area).   In that post, I speculated that if I dug-in some retaining blocks that I could keep the cocoa bean hull mulch from migrating too far into the lawn.  But, at the same time, I didn't want to make it super visible from down near the sidewalk.  What you see at the top of this post is my compromise.  I dug in the blocks a few inches and left them proud of the mulch by about 1/2" or so.   If you look at the photo below, you can get a better sense for how they look from a

Floating Mulch Solution: Installing A Small Retaining Ledge

Image
Our front yard is pitched from the house down to the street.  There's a significant grade difference between where our house sits and the curb such that our yard is on a slope and parts of our parkway are on a pretty severe slope.  But, so, too, are the beds in front and on side of our front porch.  You can kind of see/appreciate the grade difference in the photo above in this post. This is a profile view of the area that you can see in the photo on this tulip post from last year .  In that photo/post, you can see how the grade from about halfway back on the house all the way to the front of this bed is downhill.  But, it also slopes away from the foundation, too. This area is where I get the most erosion in any of the beds around our property.  We get rainwater erosion and plenty of floating mulch.  A couple of times a year, I break out the rake and pull the mulch back into the bed. Here's a post showing all the mulch in place .  If you look at the white boards on the