Black Gold In Compost Tumbler - June 2026

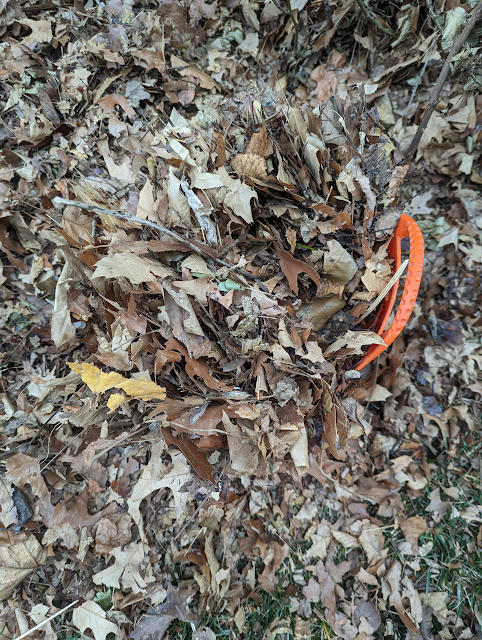
The compost tumbler works. Even when it doesn't get tumbled too often. I know because I just opened up my tumbler and took a look. What did I see? Light and fluffy BLACK GOLD. And, a (surprisingly) full tumbler. Here, below, is a look at the compost that's been made over the past year-plus. I failed to turn my compost at the end of last season, so I'm pretty sure this tumbler has been filled since Fall 2024. That means it had a full year to age. I typically use this to 'finish' the compost that has been run through my three-bin system. I'll empty out this organic material and then begin the process of turning-over the three bins. Starting with emptying the third mixed bin and loading up the tumbler. Then, I'll move the middle bin over to the finishing bin. And, I'll give the holding bin a proper mix as I move the material over to the middle bin. While I have them open, I should attach m...