Expanding Cut Flower Beds - Lazy Method - Sideyard Garden - March 2026

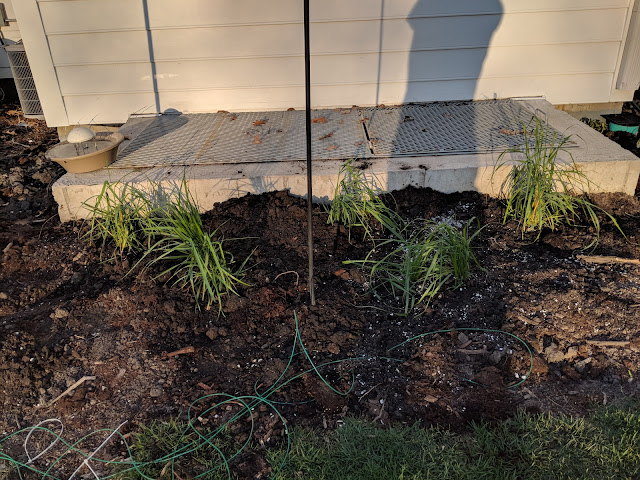
One of my 2026 to-do items is to 'expand the beds in Fall'. I say 'Fall' because of how I utilize what I call the "lazy method" of smothering out the turf with cardboard. That means that in addition to materials like cardboard and municipal biosolids, I need time. Time for the grass to die. Time for the cardboard to breakdown. And time for the biosolids to MELLOW OUT. Last year, I missed the Fall window to do some bed extensions, so I started to do them this Spring. The first one was a few weeks ago with the Island Bed taking on new edges . I used cardboard, municipal biosolids and composted manure to create a blend that I'll plant up (and mulch) later this Spring. In the sideyard, I want to do the same thing: expand the beds along the foundation to be more proud of the house. Last year, I planted out the Dahlias in late May/early June. I like to have about six weeks of time between laying down these bed exten...

.jpg)