Posts

Showing posts with the label rebar

Cutting and Bending Rebar for Flow-Thru Bond Beam Blocks in Pizza Oven Stand - June 2024

Image
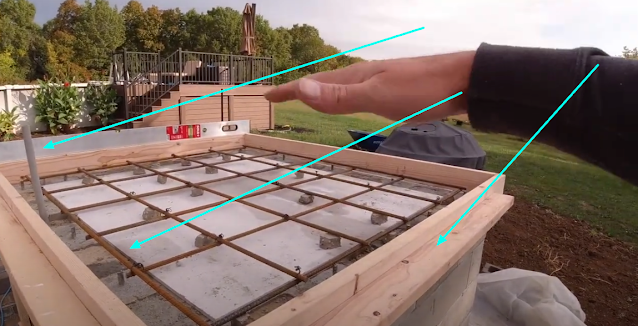
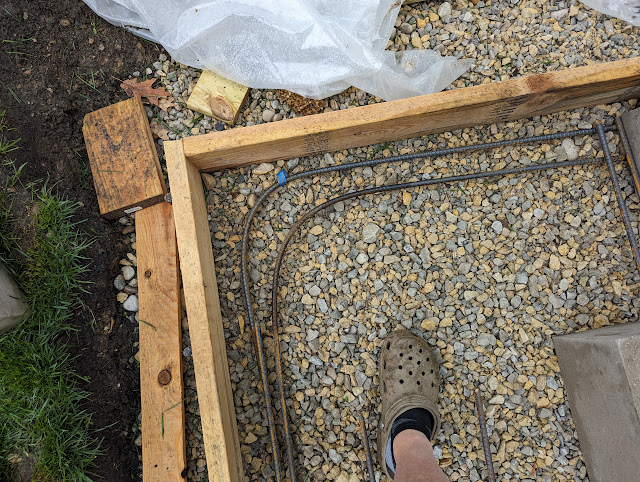
Earlier this week, I updated my wood-fired pizza oven build progress with some photos showing the bottom trays and their supports/bracing cut to size .  I have a couple of things that I need to do (I lifted eight steps - bracing for trays shimmed, rebar to bond beam blocks, fill gaps, cut rebar for grid, set up 2x8 forms, wire them, add drainage pipes and fill remaining cores with sand ) and most of those can go in any order.    Once I had the trays in place, I decided to see if I had enough rebar on hand to complete the job.  That started with bending some of the 1/2" steel rebar for around the bond beam blocks.  Then, I cut the rest for across the top in a grid pattern. Below is a photo showing the rebar bent and laid into the bond-beam blocks.  I'm doing curved rebar at every corner and doubling-it-up with 90-degree corners on top of those curves.   On top of this will be a 4.5" thick hearth, so the rebar you see running across the top of the stand will be stood-up wit

Couple of Wood-Fired Pizza Oven Hearth Construction Tips Via YouTube - May 2024

Image
Last week, I posted my latest update on our backyard pizza oven build where I mortared in the first course of the cinderblock stand .  I'm on my way this week to swap out some of the blocks and to pick up the rest of the angle iron so I can drystack the rest of the stand.  At risk of getting things out of order, I'm going to talk a little bit about the suspended hearth.  That hearth sits ON TOP of the stand.  It is reinforced concrete that is framed up with a 2x6.  That means - at the VERY MOST, the hearth is 5.5" thick.  But, because you overlap the forms with the block stand, you lose about an inch - so it becomes something like 4.5" thick.   I'm thinking about the hearth and the materials required as I run to the hardware store and I found a bunch tips that I'm going to use in my hearth build via the  Blood Sweat and Beers YouTube channel  -  this video where he walks through his reinforced hearth forms and setup .   I thought it was worth documenting here

DIY Pizza Oven Foundation Slab - Rebar and Reinforcement - May 2024

Image
Last week, I ran through the details of the final dimensions of our backyard wood-fired pizza oven including the reinforced slab, the block stand and the insulated hearth.  I had been thinking of a 39" diameter oven and after looking through the actual dimensions of the block stand (less than 16" per block), I've settled on these final dimensions: Reinforced foundation slab: 72" wide x 80" deep. Stand: 4 blocks wide x 4.5 blocks deep - 62.5" wide x 70.312" deep. Hearth: Same as stand.  Framed with 2x6 dimensional lumber. Oven: 39" interior, 51" exterior side-to-side x 64" front-to-back. The first major task is to pour the foundation slab.  The steps to get that done include: Excavate the site Lay down 1/2" gravel and compact the base Think about drainage on/around the foundation slab  Set up the forms and stake them level and square Buy the material (concrete, rebar, cinder blocks, angle iron) Lay down a 6 mil vapor barrier In