Sideyard Changes Since 2017 - August 2025

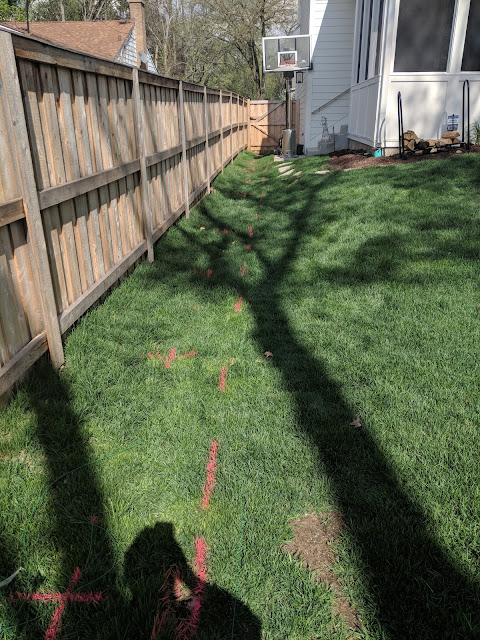
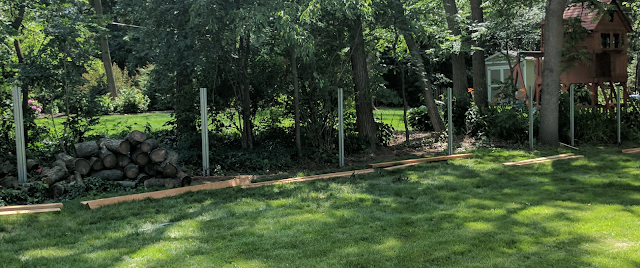
Thanks to Google Photos, I was served this image of our sideyard from 2017. This was the day were were installing our fence and shows the state of the sideyard before we moved in. Grass all the way around the house, no trees or plants. And, no walkway/boardwalk/path. See below: Compare that with the photo from this post from this past month showing the same view towards the backyard (photo posted below): Quite the change. Eight years apart.