Posts

Showing posts with the label bunny

Dang Rabbits Made A Burrow Again - April 2022
Image
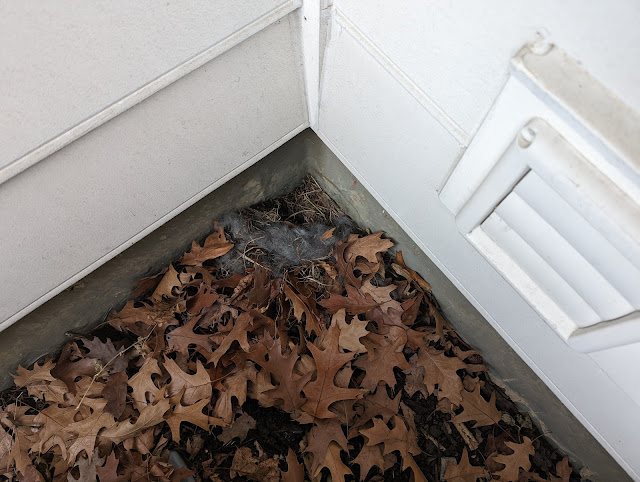
Last Summer, we had a Rabbit create a little baby bunny burrow right on the edge of our patio .  While it sure was fun for the kids, it created some problems with the dog.  Frankly... as I said back then :  it was a bad spot for stashing some tiny bunnies.  All Winter long, we've had rabbit damage, so they're not on the top of my 'invite list' when I think about critters making a home in our yard.  But...I have to remind myself that one of the criteria for a "Certified Wildlife Habitat" is having 'places to raise young' .  So, I suppose having our yard used for a second-straight year as a place to raise tiny bunnies speaks to the conditions. I said second-straight year.  Yep.  They're back.  But, this time, the Mamma Rabbit picked a MUCH better spot:  tucked in against the house, behind our air conditioners.  Here (below), you can see the little fur she's provided as a blanket in the corner and how she puts the leaves and other land...

Bunnies in Our Backyard - By Our Patio - Spring 2021

Image
This post is two months late, but I still wanted to get around to posting these photos of a litter of baby bunnies that were born and raised in little burrow that their mother dug out RIGHT NEXT to our backyard patio this Spring.  One day, I noticed a little disturbed section of grass right by our patio, but thought nothing of it.  Until I came out a day or two later and saw a rabbit DART away from the patio.  I wandered over to see what the rabbit was doing and I saw a squirming pile of VERY young bunnies piled on top of each other.  They were purple and hairless.  And they were so young that it seemed like I could see through their skin to see the electricity going on in their brains.  Super weird.  But, also concerning.  Did I just scare away the mother and was she going to abandon these little bunnies?  I didn't know what to do, but Nat started to search for answers and we decided to just simply top these very young bunnies with the loose...

Unpainted Faux Chocolate Bunnies - 2017

Image
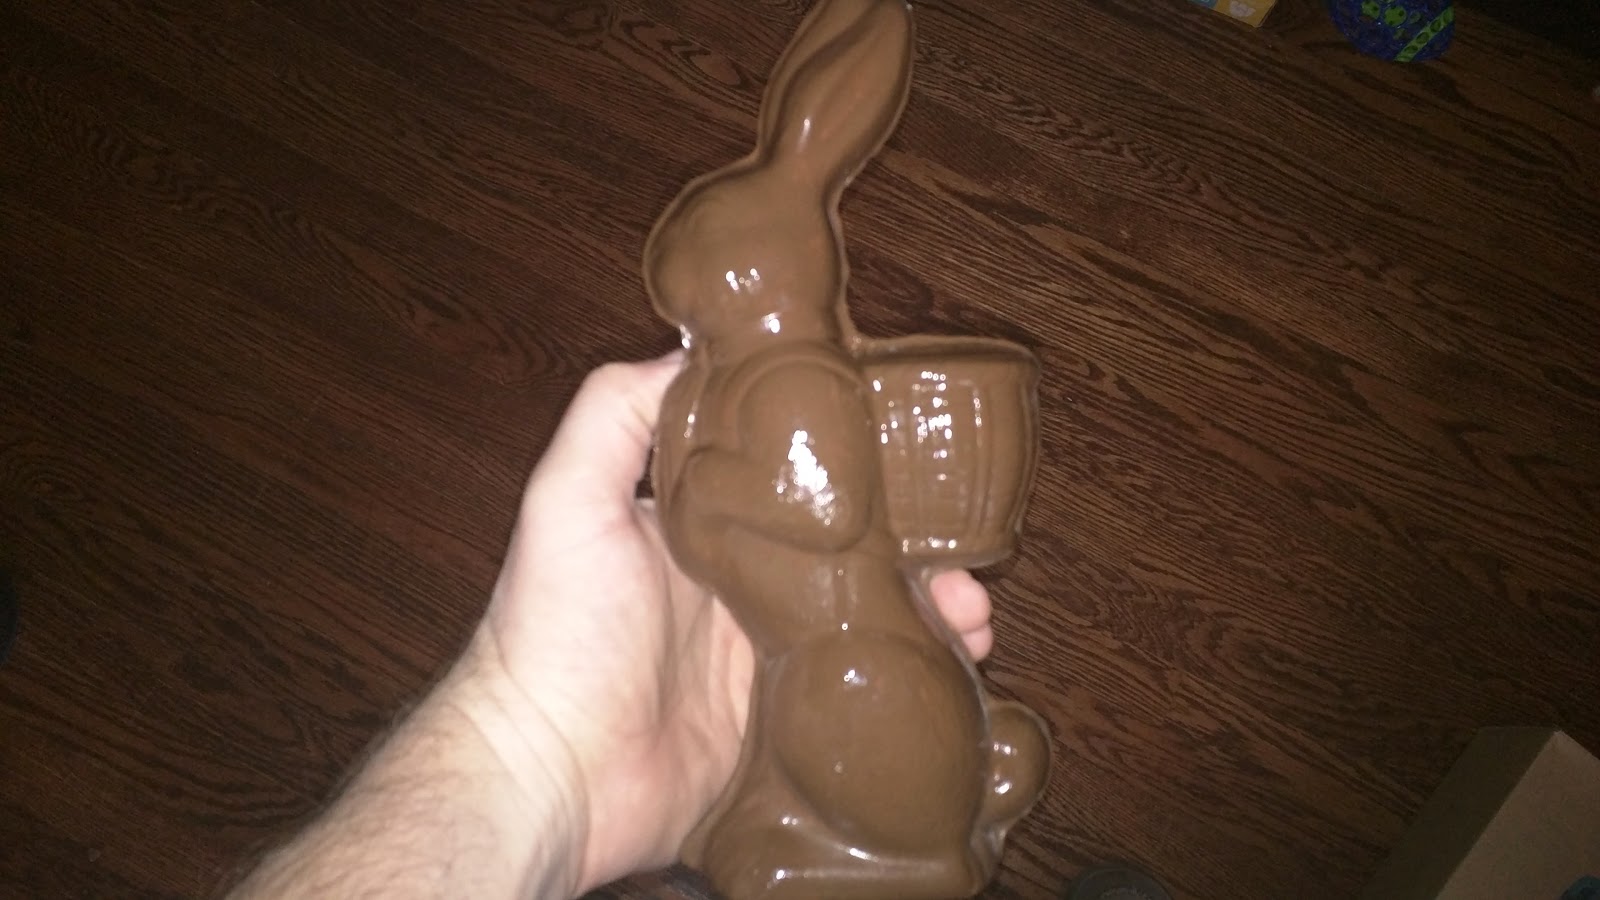
Back in March, I posted a photo of this year's bunny mold .  Fast forward a few weeks and we've birthed four of these guys.  And while I've been trying to get the girls to help out with these over the years, this was the first year that they actually helped!  Like...they mixed up the water putty, filled the cavity and helped me free them from the mold when they were set.  These are decidedly much smaller than any of the other ones we've made over the years. Now they'll go off to get painted and dressed up before Easter.

This Year's Bunny Mold - 2017

Image
This cute little bunny mold arrived in the mail recently.  She's wearing a dress and carrying a basket - as Easter Bunnies are wont to do.   The bunny from 2014 also carried a basket, but he was a bit more formal. This one is a bit smaller than we've done in the past, but I think with the girls helping me, the size is going to work to our advantage. Turns out, we didn't make one of the last year.  Instead, we went to Sea Island instead of having Easter around town.  Ahhh...Sea Island. Back to reality with these molds.  I'll work with the girls to stuff the cavitiy with water putty, then once dry, we'll paint them up, then add a topcoat for shine.  Aiming for four of them to spread the Easter joy around a bit. Here's the mold we used in 2015 . Here's the mold we used in 2014 . Here's the mold we used in 2013 . Here's the mold we used in 2012 . Here's the mold we used in 2011 .

Anderson's Candy Shop in Richmond

Image
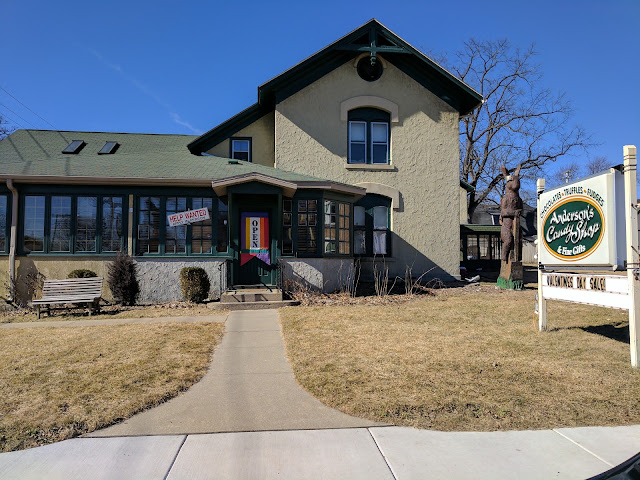
As we spend more time up at Twin Lakes in Wisconsin, we are beginning to get to know the local community a bit more including places to shop like Lake Geneva Antique Mall  and this place above"  Anderson's Candy Shop, which is actually in Illinois.  Richmond, Illinois to be exact.  Richmond is a border town.  Check out this map that shows the town of Richmond, the location of Anderson's and it's proximity to the Wisconsin border (which I've circled in green) as well as Twin Lakes of Elizabeth and Mary. Anderson's isn't the first candy shop that we've discovered.  Because of Google Maps rerouting us one time due to traffic and accidents, we came across the Riverside Chocolate Factory in McHenry .  It is shaped like a teepee, so it is hard to miss.  I'll try to post something on that place the next time we go because I think that the kids actually like that place better. Mostly because they have LOTS of little bins of name-brand candy. And...

This Year's Water Putty Easter Bunny - 2015 Edition

Image
This is the fifth edition of the 'faux chocolate' water putty Easter bunny produced in our house.  He has a basket on his back and is pretty tall.  Took almost a half can of Water Putty for each one. I can't seem to find the photo of last year's version (but I did, indeed, produce one).   Guessing it had something to my lack of posting in March and April of 2014.  I did, however post the mold from last year that you can see here .  We made the typical batch of four of these guys and with the help of the girls, we gave them away a week ago on Easter Sunday. Here's the original how-to post from back in 2011 . There have been five, but with 2014 missing, here's the rest: Here's the 2013 edition . Here's the 2012 edition . Here's the 2011 edition .

This Year's Bunny Mold - 2015

Image
Easter may have come and gone, but I find time to get around to posting about this year's bunny mold.  The Babe and I produced a few of these just like we've done in year's past. This year's mold was pretty big and used A LOT of water putty.   This marks the 5th year of doing the bunnies and they're all different.  I'll post some photos of the in-progress bunnies and the fully-finished ones that are all glossy with polycrylic. Here's the mold we used in 2014 . Here's the mold we used in 2013 . Here's the mold we used in 2012 . Here's the mold we used in 2011 .

This Year's Easter Bunny Mold - 2014

Image
We're going to get started this weekend with the water putty.  This guy is 'vintage-y' looking, so he'll fit right in with some of the past year's editions. Here's the mold we used in 2013 . Here's the mold we used in 2012 . Here's the mold we used in 2011 .

2013 Faux Chocloate Easter Bunnies

Image
For the first time, we made some 'white chocloate' faux Easter bunnies.  The mold ( here ) was the smallest one I've worked with of the three years.  In the photo above, the white ones almost look matte, but they have the same shine on them that the chocolate ones do. Here's the 2012 edition . Here's the 2011 edition .

Cracker Barrel Selling Faux Chocolate Easter Bunnies

Image
Look at what I spotted at the Cracker Barrel?  A pretty tall faux chocolate bunny.  They've painted his eyeball, which is something I haven't done, but other than that they look a lot like the bunnies I've made in the past .  They wanted $19.99 for the large ones.  I have about $20 in the process to make three of them, so these guys have some healthy margins.  Granted....they're not using water putty to mold them as they're made of lightweight plastic, so they're probably even cheaper to produce. Is the faux chocolate bunny going to become a hot Easter-season item?

This Year's Bunny Mold: Sitting on a Stump

Image
I picked up a new mold from KHL Molds last week and started to make this year's bunnies.  I received a really sweet note from the owner of KHL Molds - and a special surprise - that I'll cover later this week. I've filled the mold already once with water putty and the cavity is a lot smaller than last year's and only requires one blend of material to fill the whole thing.  That means I can likely make *more* than I have in the past...