Posts

Showing posts with the label insulation

Mason's Sand + Fireclay To Set Firebrick Floor - Wood-Fired Pizza Oven Build Project - August 2024

Image
The oven project is continuing to move head.  Last time I posted about it was the cutting and installation of the CalSil insulation board that I mounted on top of a pattern of mosiac tile .  That 4" of CalSil insulation is the base for the firebrick floor.  So, laying that insulation was the last big piece towards building the actual oven.    To get the floor in place and level, I opted to lay down a base of mason's sand (which has no rocks) and fireclay (the dried-up dust from cutting the firebricks that comes off the saw) that I combined 50/50 and wet to make a paste.  You can see this process in a few photos below.  I used a notched trowel to smooth out the paste.  Then....I began to lay the brick floor down like tile.   Next up - laying the full floor and the first layer of the dome.  As a reminder, I opted to isolate the floor from the dome with the dome bricks cut separately from the floor . 

Adding CalSil Insulation Boards - Wood-Fired Oven Hearth - Under Cooking Floor - July 2024

Image
A couple days ago, I posted details of how I am using sheets of tile (flipped upside down) to create a little drainage pattern that sits on top of the poured concrete hearth of our wood-fired pizza oven .  On top of that tile goes - first - insulation.  Then, the floor and dome.  There are a number of ways to do insulation, but over the past few years, the FornoBravo community has seemed to coalesce around the use of Calcium Silicate Insulation Boards as the *best* insulation.  I found some online - sold locally in Southeast Wisconsin - at a decent price.  I bought 54 square feet of 2" thick boards.  I've opted to go with a double layer - 4" of CalSil boards.  That's the recommendation for the 'best insulation' you can use.  Why insulation? To keep the heat *in* the oven.  In this case, it is about creating a barrier between the cooking floor and the concrete hearth.  From what I understand...if NOT for the insulation, the concrete hear...

Disneyland Roses Winter Protection Removed - March 2023

Image
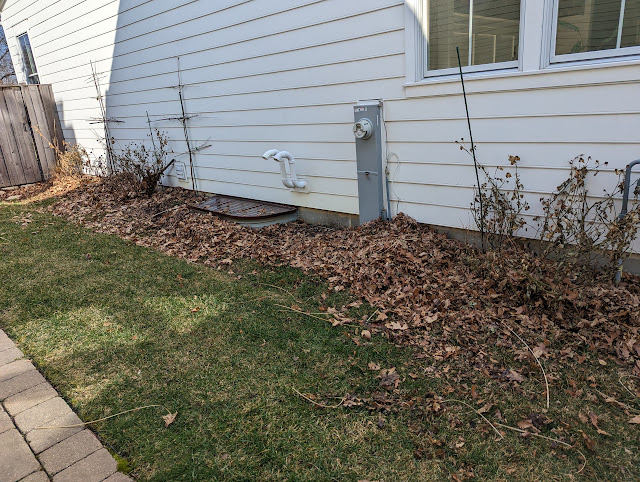
A few days ago, I yanked out the chicken-wire cages that held a heavy leaf blanket on top of our three Disneyland Roses.  Those leaves were there to help insulate the crown of the roses from the harsh Winter conditions.  With the warmer temperatures (and...shorter periods of sub-freezing temps) here, it was time to let the roses breath a bit.  I still have to clean up all the leaf litter (see below), but for now, these Disneyland Roses are on their course for 2023.   I removed the cages around mid-March last year , so I went about a week earlier this year.   I'll start feeding these in April and then hit them every month to keep them happy.