With excavation started on the site of our backyard wood-fired pizza oven (on our drywell), I need to move from the theoretical (What could an oven look like? How high should it be? What would it need to be made out of? How many cinder blocks? What layout?)
In my recent post on excavation, I ran through some mental math to figure out what size the hole needs to be, what size the slab will be and how wide the block foundation will be once constructed. I ran through both a 10x8x16 block scenario and an 8x8x16 block scenario. The 8x8x16 is the traditional block, but I was considering if the extra 2" block in the first (one or two) courses is appropriate to all for the footing of a brick face on the sides of the oven.
Off I went to Menards to poke around in the construction block section. Back in January, I posted the details of how there are L-shaped cinder blocks that help make proper corners and I wondered if I should be using those to make a square pizza oven stand. I looked on the Menards site and could only find 10" and 12" L-blocks. No 8" ones. In the store, I found the same thing. Below is a look at the l-shaped corner blocks. Smallest width they show is 10".
So...there are no 8" L-blocks. That means that I have to make a decision: Go with 10" bottom course and use corners - knowing that I'll only be able to use them for the bottom course (or two, maybe). Or...go with the traditional 8x8x16 blocks for the foundation.
Every.single.build that I've followed on the Forno Bravo forums has used traditional 8x8x16 blocks for the stand. And, while the ledge to hold the facebrick would be nice, I think that going with 8" and allowing for the facebrick in the reveal is the right way to go.
Here, below, is a look at the full and half blocks. $1.79 for full, $1.50 for halves. The fulls weigh 36 lbs while the halves weigh 23 lbs.
I am planning on doing a BIG order of material and have it delivered. But, I'm RIGHT NOW thinking that I need to bring home a number of blocks - enough to lay out the bottom course - BEFORE I pour the slab. That means that I'll have to haul some of these blocks home in my car.
The bottom row is: 12 full, 5 half
Row 2: 14 full, 5 half
Row 3: 14 full, 1 half
Row 4: 18 full, 4 half
I measured the back of our car and without folding down the backseat, I can fit five across, two deep. A "layer" of 10 full blocks.
At 36 lbs, those 10 blocks = 360 lbs.
I'd like to keep the weight in the vehicle down below 500 lbs. My thinking is that if I'm the only person in the car, my vehicle can handle 500 lbs of materials. According to the CDC, the average 20-year-old American female weighs 170 lbs. My car holds (at least) 4 additional passengers (1 in passenger seat, 3 across the back). 170 x 3 = 510 lbs.
510 minus 360 (10 blocks) leaves 150 pounds. With a half block weighing 23 lbs, I think I can put in five-or-six half blocks (safely).
10 blocks x $1.79 = $18
5 halves x $1.50 = $7.50
Total: $25.50.
I'd be 2 full blocks SHORT of what I *think* the bottom layer is going to need, so when I get there and load-up the cart/car, I'm going to make a call on-the-fly about those 2 extra full blocks. Would be nice to get a full course, right?
The other thing that I learned at the store was that something called a "Pressed Bond Beam" block exists. This block (photo below) is more expensive $2.99, but has 'open' sides and allows for the laying of rebar around the perimeter of the block stand. I think the right thing is to make the entire TOP layer of stand out of these pressed bond beam blocks - the ones that allow for flow-thru bottoms (so I can fill the cavities).
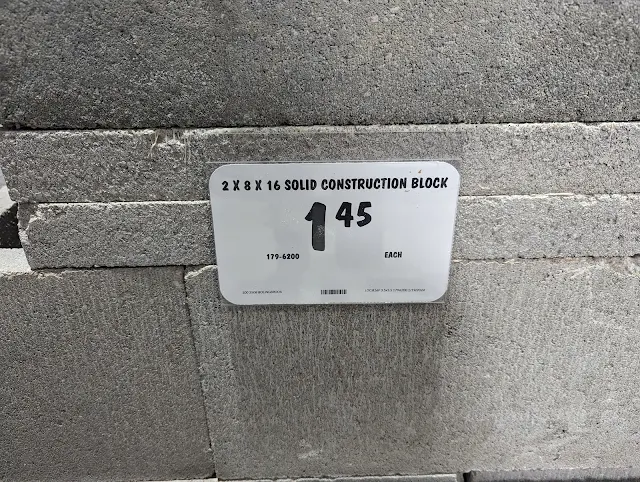
When I built out my LEGO model of the stand, I talked about achieving the ideal oven height is a HUGE part of building the stand and slab. I was happy to see that Menards carries a couple of shorter blocks - 2" tall and 4" tall. These are 'solid', so not exactly what I want (hollow core), but good information for planning purposes.
By the block displays, Menards also has a few signs up that help you estimate the required materials. The first one talks about the # of bags of mortar mix needed to lay the blocks. For every 25 blocks, they are saying you need 3 60# bags of mortar mix. That is something I need to answer: Am I mortar'ing in the block stand? Or just dry stacking and filling the cores?
They also have a sign showing the various concrete mixes available in bags. My current thinking is upgrading from the standard concrete mix to the 4000 psi mix - just 7 cents more per bag.
Here, below, is a look at the 4000 psi bags:
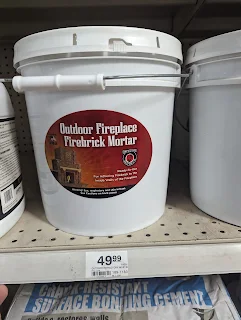
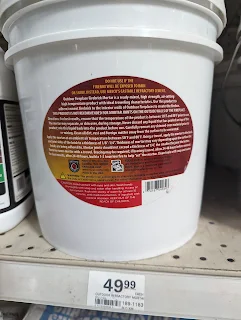
I also found a couple different types of high-heat mortar. The first comes in a 25# pail and is pre-mixed from Meeco called "Red Devil". $50 for 25#.
But, they also sell a dry mix - 60# for $65.99. So, this clearly is more affordable, but requires labor to mix. The downside is the labor/mixing. The upside is the 'just right' size nature available to make small batches and lay bricks in smaller sprints.
I'm going down multiple paths at once:
excavation - need to finish up.
materials - need to purchase preliminary blocks to ensure stand size.
gravel - decide how much is needed.
Then, place the large, comprehensive order and get busy.
Using those 8" blocks, here's how my math is looking:
8" blocks:Slab: 78 wide, 86 deep
Stand: 72 wide, 80 deep (4.5 blocks wide, 5 blocks deep)
Leaving reveal of 6" total. 3" either way.
This allows for 2" face brick and a 1" reveal.
.jpg)
.jpg)


Comments
Post a Comment
Be nice to each other here.